Why a custom case ?
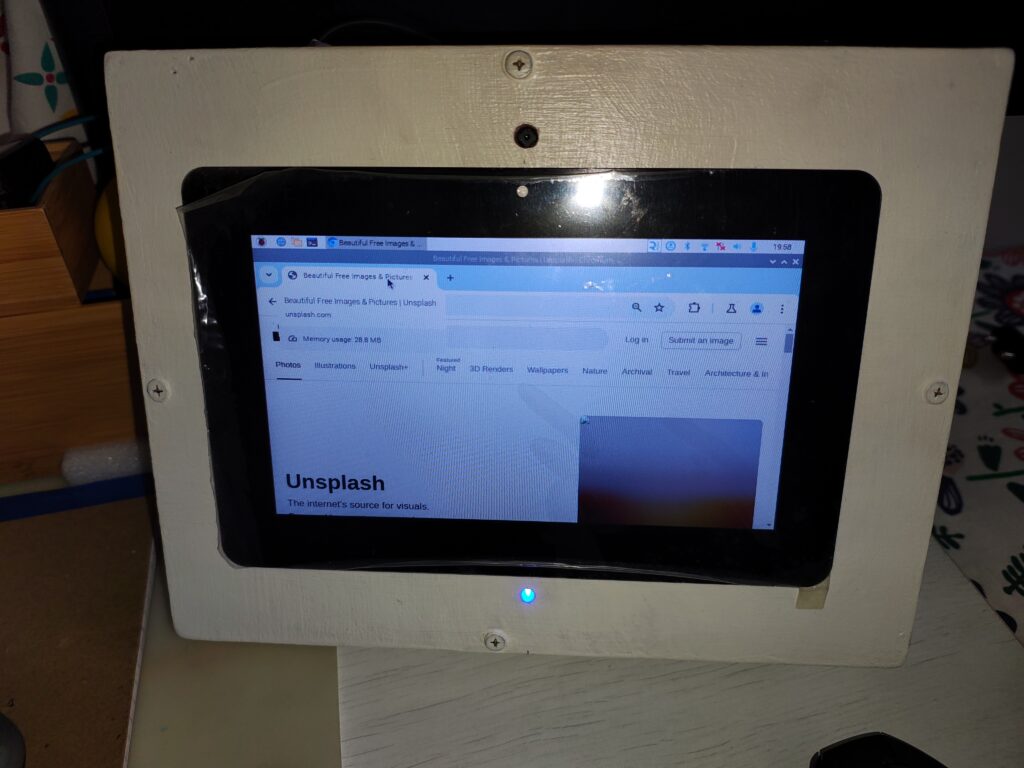
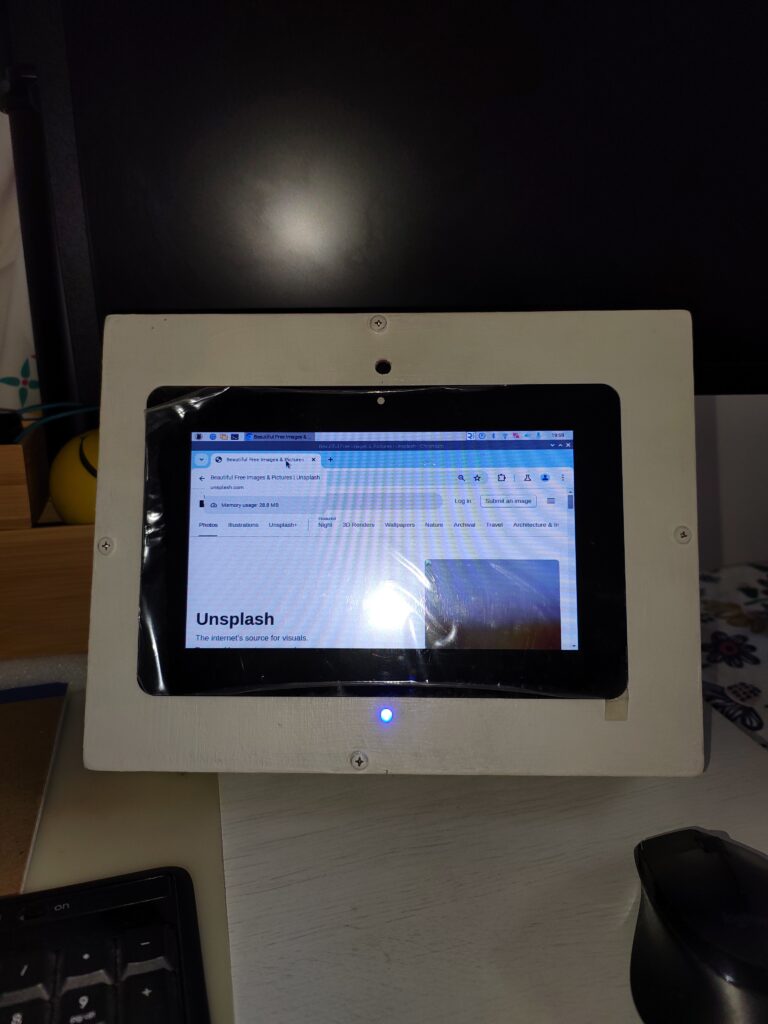
Well I brough 8 inch touch display from Waveshare for my Raspberry pi but I was not able to get any proper case for the display. Most of them was for 7 inch or 5 inch or 10 inch. But nothing for 8 inch size. So finally started my project to build Raspberry Pi custom case for my display.
What’s required
- Small Pieces of MDF board
- Hand saw or machine saw
- Hand drill to drill holes for the LED, Switch and Camera
- Raspberry Pi camerra
- LED and Resistance
- Push switch
- Chalk Paint & Wood Wax
- Brush to apply paint
Process
- Cut the MDF and Glue it or screw it
- My Dimensions was 21cm * 27.5 cm * 6 cm.
- Make hole for the Camera, USB Socket( I planned to extend 2 USB socket), LED and Power cable
- You can also drill holes for Speaker, HDMI extension ( Optional). I had skipped for later upgrade.
- Cut required space for the touch screen to fit. I used M2.5 Standoff to extend the display screen and tightened it at the back panel. Note the screen comes with glue on the sides to stick. Scree makes it more robust.
- I used 2 types of MDF. Front and Back Panel with 0.5 mm MDF as it is easy to cut, Side Panel with 1 inch MDF.
- Once you are done with drills, apply chalk paint 2-3 coat. Once dry apply wood wax. Note it may take 2-3 hours to dry the paint and so to apply 2-3 coat you may need 1 -2 days.
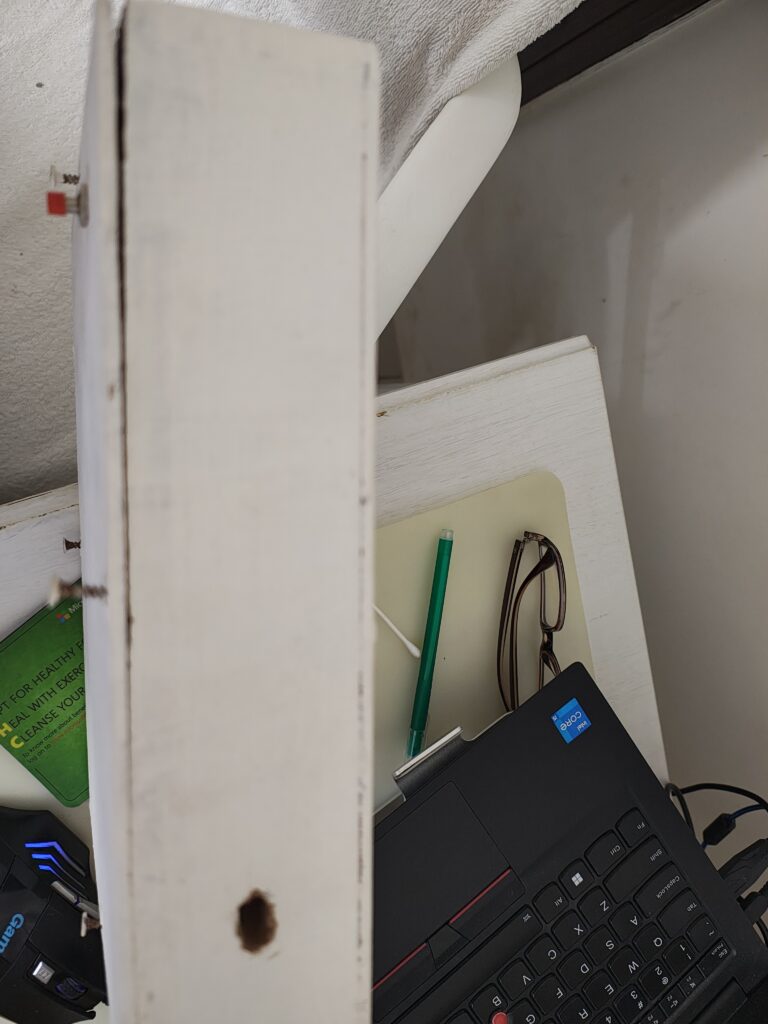
- Some images from my in progress case as below.
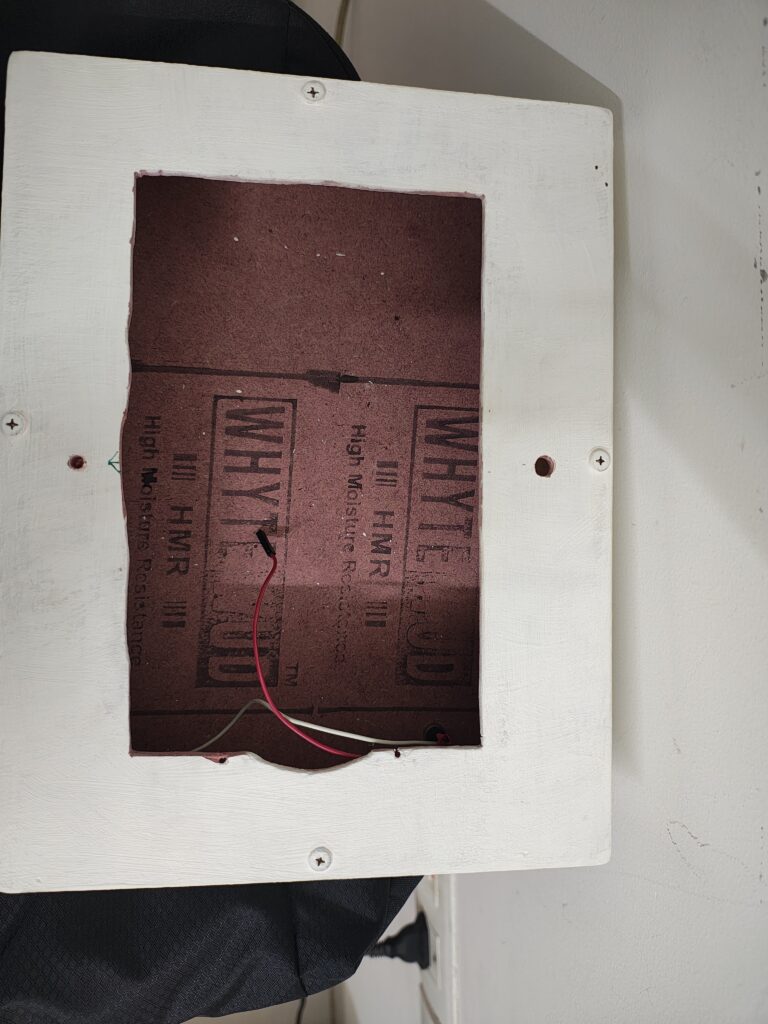
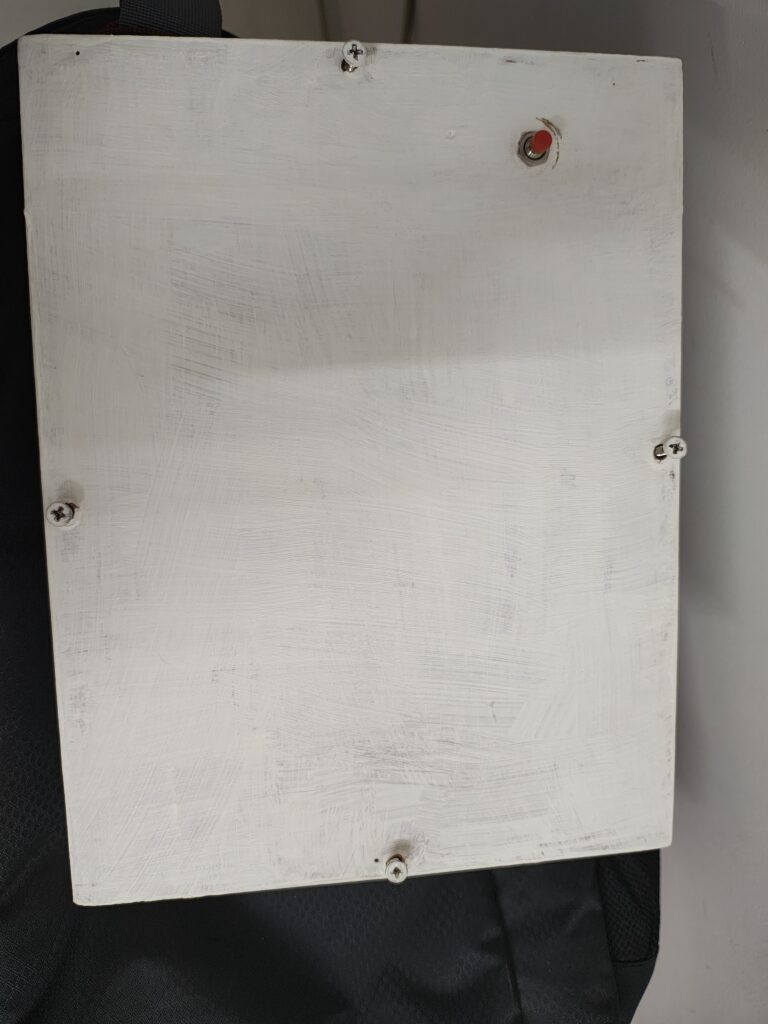
- I added LED indicator and shutdown and startup switch
Final Version
