Steps to Configure Wifi Tethering in Windows:
- Launch an elevated command prompt under Windows 8 (command prompt with administrator privileges).
To do this Press Windows + x key in windows 8 and click Command Prompt (Admin). - Execute the below command to verify that your network interface support virtualization:
netsh wlan show drivers
If the “Hosted network supported” says “Yes“, then you’re ready to share the internet via Wi-Fi. Otherwise, you need to upgrade your hardware, if the software update doesn’t fix it.
- Now set up the Ad-hoc wireless network (wifi tethering) using this command. Replace the parts in markup tags with your own choices
netsh wlan set hostednetwork mode=allow ssid= key=
ssid is nothing but your desired Wi-Fi name, you can give your own.
Key is nothing but your Wi-Fi password. It should be Minimum 8 characters long.
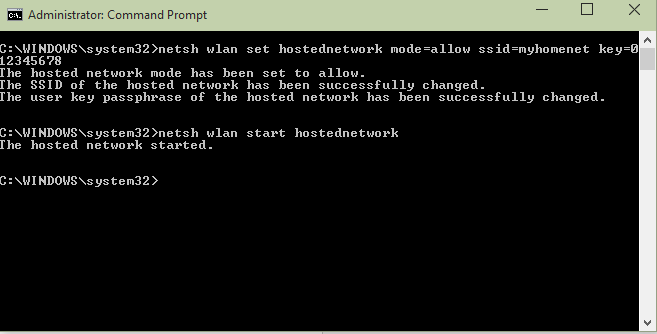
Eg : netsh wlan set hostednetwork mode=allow ssid=myhomenet key=012345678
- Your hosted network has been created. Now, you need to start it.
Use the command below to start your Wi-Fi Network:
netsh wlan start hostednetwork

- Now type exit. Command Prompt will close.
- Open the connected network and right click on it and select “Connection Properties“. Now open Sharing Tab (Internet Connection Sharing) and check “Allow other network option”and from the dropdown select the “Local Area Connection”and Click “OK”.

- To Check the connection, open Control Panel-> Internet and Sharing and there you will see 2 connections one is your internet connection and the other one is Local Area Connection (Which is your WiFi Created)
