
What do you need for installing Windows 11 on Raspberry PI?
- Raspberry Pi 4 – Both the 4GB and 8GB Pi versions will work. But for a smoother experience go with 8GB.
- External SSD drive or USB flash drive – This is where you’ll install Windows 11. We recommend going with an external SSD drive since it will improve the performance of your system. The drive should be at least 64GB.
- USB Keyboard, USB Mouse, and an HDMI Monitor.
- Reliable internet connection, either Wi-Fi or Ethernet.
- Windows PC, from where you want to install Windows 11. Note you can also install from another raspberry pi
Steps to follow to get Windows 11 arm package
Step 1
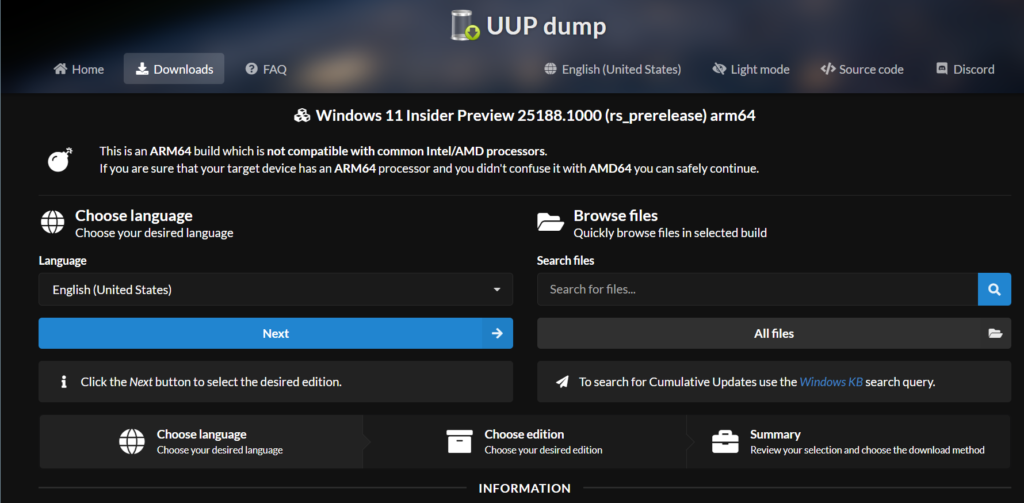
Go to UUPdump and search for “Windows 11 arm”.
Step 2
Now select your language and the version of Windows you want to install (I have selected the latest build for arm64 version). Click “Next” to proceed.

Step 3
Select download options. I will select “Download and convert to ISO”
Step 4
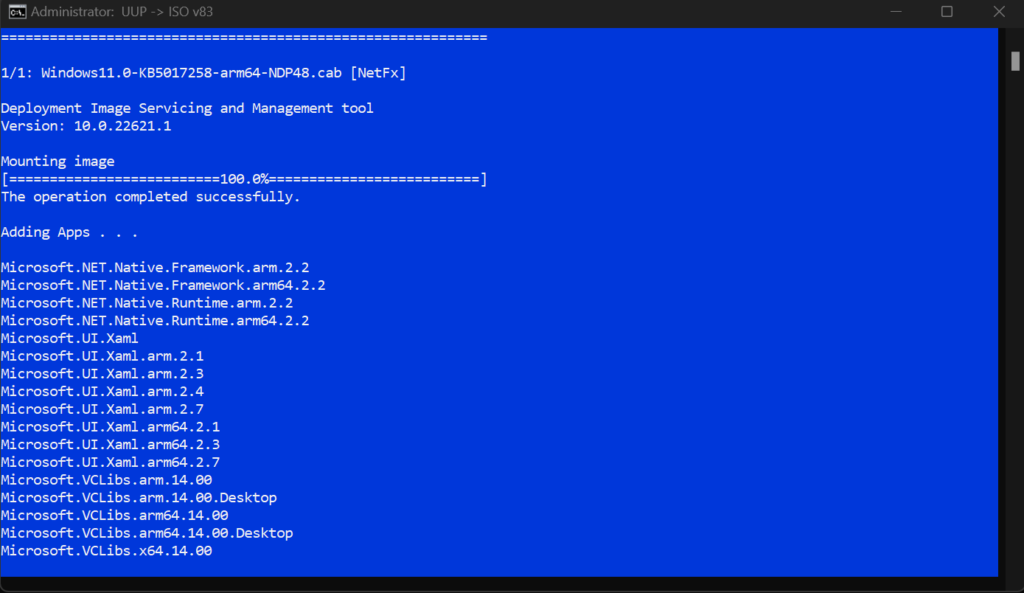
Extract the zip file and run the “uup_download_windows.cmd” script as administrator.


The script will download all Windows components and create a Windows 11 ARM ISO file.
Step 5
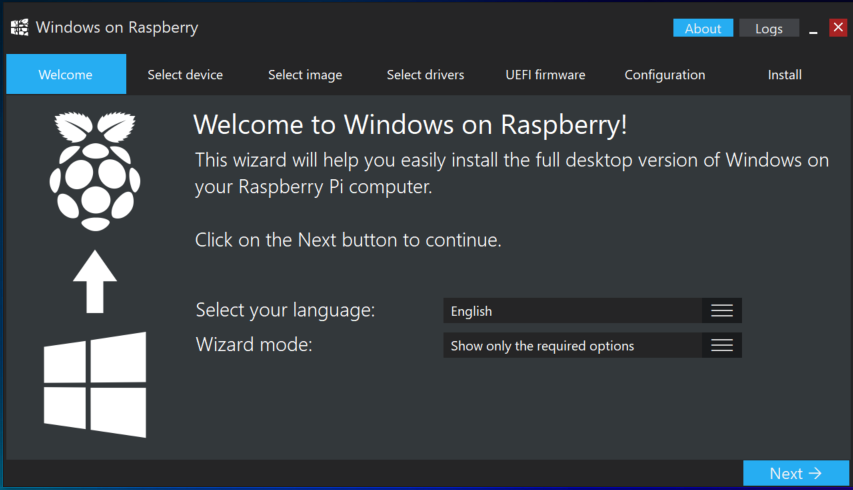
Download Windows on Raspberry imager (WoR) imager and extract the files. Then run the “WoR.exe” file as administrator.
Select your language of choice and then click “Next”.
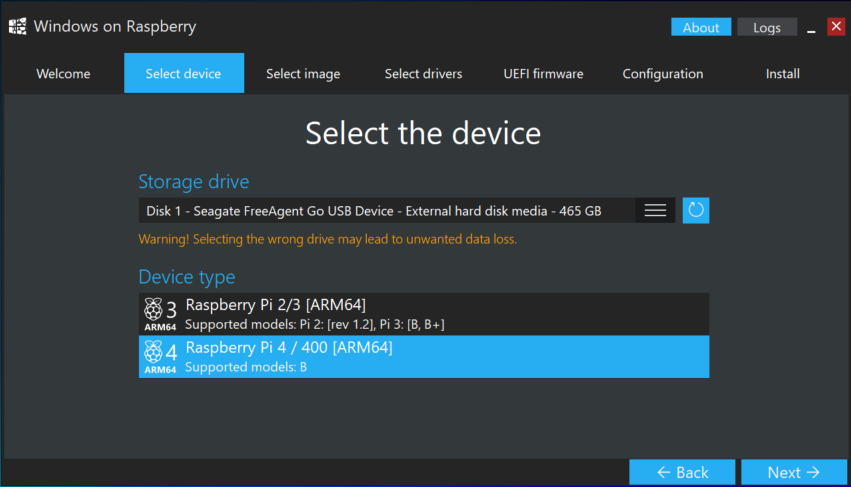
Step 6
Now choose the “Storage drive” (the USB drive you’re flashing Windows 11 into) and the “Device type” (Raspberry Pi 4).
Step 7
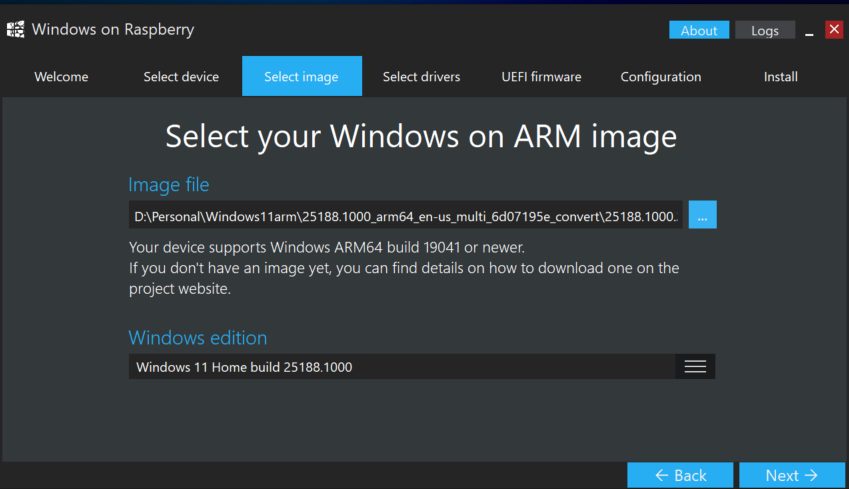
Select the Windows 11 ARM ISO file you created. You’ll find it in the UUPdump script folder. The “Windows edition” field below will then auto-populate. Click “Next” to proceed.

Step 8
Select the drivers to be installed. Choose the “Use the latest package available on the server” option. Read and accept the terms to proceed. Click “Next”. In the UEFI Firmware tab, select “Use the latest firmware available on the server” option. After that you’ll get an overview of the configuration settings. Click “Next”.
You’ll be taken the installation overview screen.
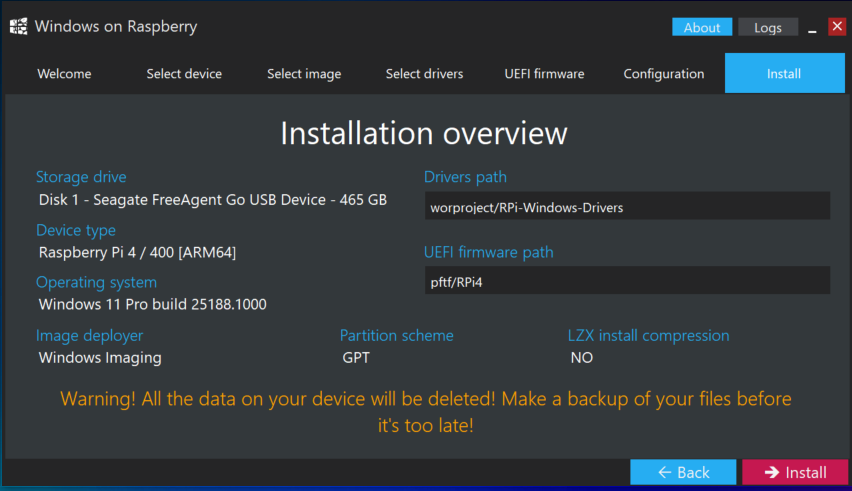
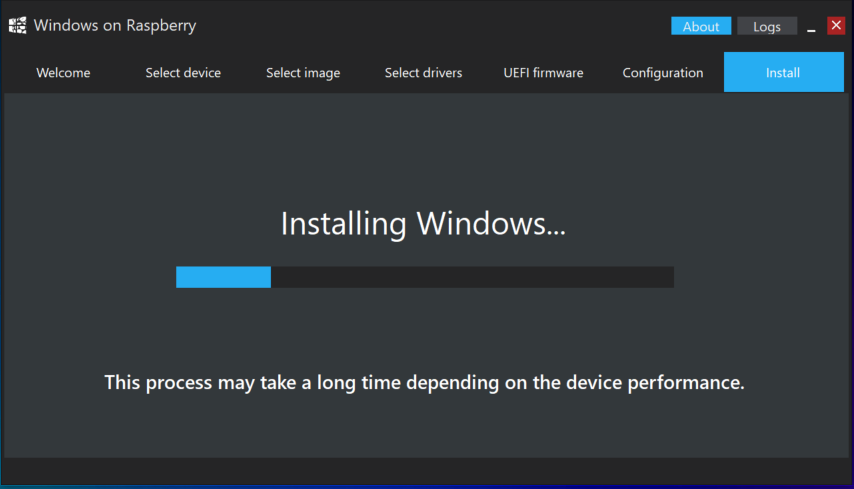
Confirm that everything is in order, and then click “Install” to kickstart the installation. This process will take some time, depending on how fast your drive is.
Once the installation is complete, plug the USB drive into your Raspberry Pi 4 and then boot it up. The Windows Wizard will guide you through the Windows 11 setup process. After setup is complete, you’ll be able to boot into Windows 11.
Note: Make sure to use USB drive with external power to improve performance.