Why do you need to setup static IP address address
By default most of the network setup at home are DHCP, which means you are not sure which ip is assigned to your raspberry pi and can change. There may be situation where you need to manage your PI using SSH and it will be difficult to find out the ip address of the PI each time.
Step1 – Identify the Current IP address
hostname -I

This will give you the current IP address assigned. Note the number
Step 2: Identify Default Network Interface
Next, get IP address of your router(default gateway)
ip r

2. To obtain the name of the network interface, use the following command:
route | grep ‘^default’ | grep -o ‘[^ ]*$’

Step 3: Obtain DNS Address
sudo nano /etc/resolv.conf
Step 4: Edit Network Settings(Old System)
Next update the configuration file. If you have old raspberry pi OS.
sudo nano /etc/dhcpcd.conf
Scroll to the bottom of the file and add the lines below with the information you obtained in the previous steps of this tutorial.
interface [interface-name]
static ip_address=[ip-address]/[cidr-suffix]
static routers=[router-ip-address]
static domain_name_servers=[dns-address]

Once updated reboot Raspberry Pi by typing:
sudo shutdown -r now
Step 4.1 – If you have new Raspberry Pi OS
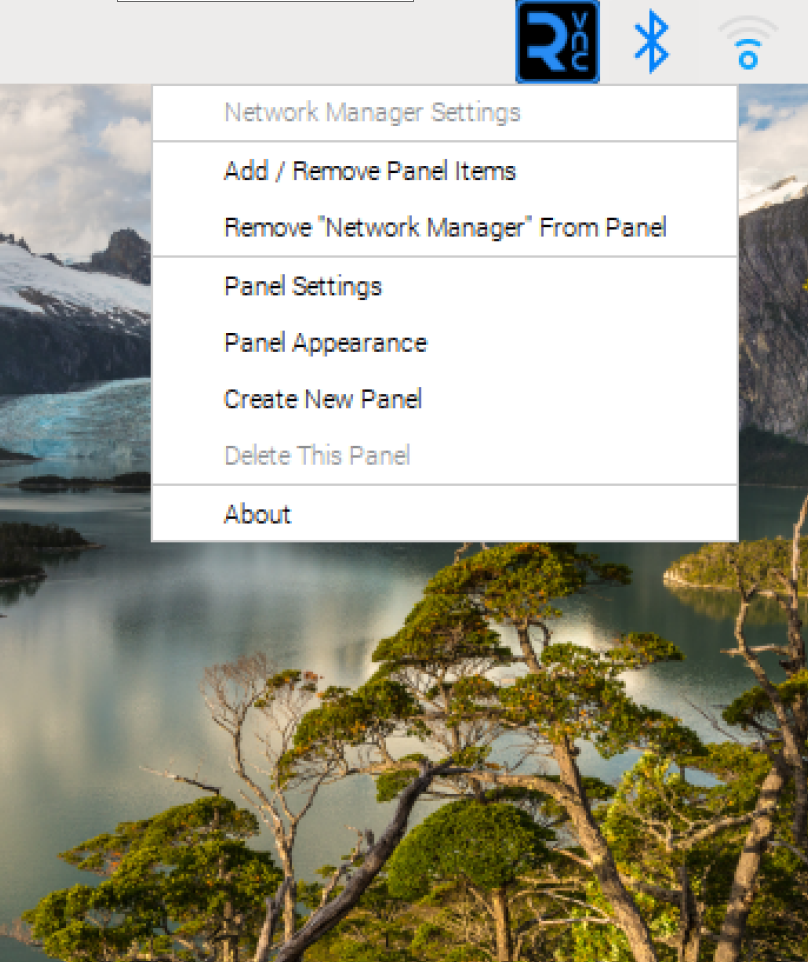
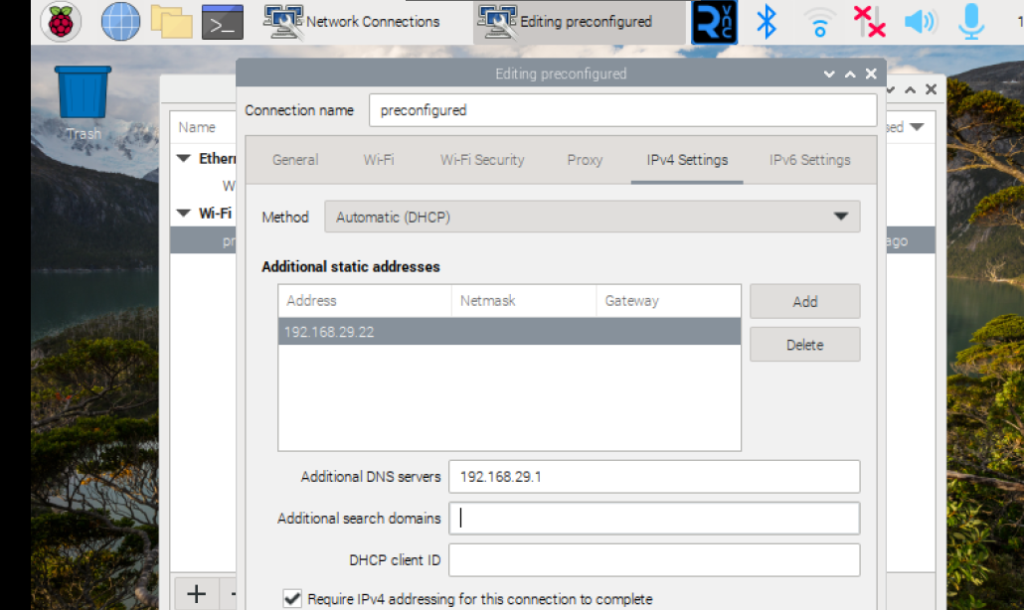
Starting with Raspberry Pi OS Bookworm, Network Manager is the default networking configuration tool. You configure static IP using the Edit configuration option in the Network manager settings.


