Introduction
What is Pi-hole ?
Pi-hole blocks ads, cookies and any other sites you choose, from your home network. It will help browse more quickly and securely. Pi-hole is a free web filtering tool that runs on a Raspberry Pi on your network. You ca use any other OS other than Raspberry Pi but here I will show how you can do it in Raspberry Pi
To setup Pi-hole with Raspberry Pi follow the following steps
Step 1 – Assigning static IP address to your Raspberry Pi
If you already have raspberry pi installed then you can move to execute below command. Otherwise install fresh OS in your Raspberry Pi and connect to your network. You follow my other post on installing raspberry Pi and setting up static IP address.
Step 2 – Install Pi-hole
Install Pi-hole using this one line installation script. This command will download the script and then run the installer in the terminal.
Open new terminal window
curl -sSL https://install.pi-hole.net | bash
Follow the instruction in the installation while reading through the following steps
Specify Your interface-

After the splash screen there will be a step to select interface. Select either eth0 or wlan0 for wired or wireless connection as shown above
Step 3 –
Pi-hole uses external DNS provider. If you need to change and use your own then select

Step 4 – Confirm block list
At this step either you can use the pre-compiled list to block. This can be updated now or later. Leave the existing list as is by pressing tab and select OK.
Step 5 – Select both ipv4 and ipv6 and move next
Next , installer will check the IP address and the Gateway to match your IP address and router address and set it to remain fixed.
Step 6 – Install web interface
You can use the web iterface to monitor your web traffic and temporarily deactivate web filtering when it is required to access the resources that is otherwise blocked. From the web interface you and update the blocked list. Make sure to select “ON” in the step to install web admin interface. Also, select lighttpd webserver and php modules in the setup screen.


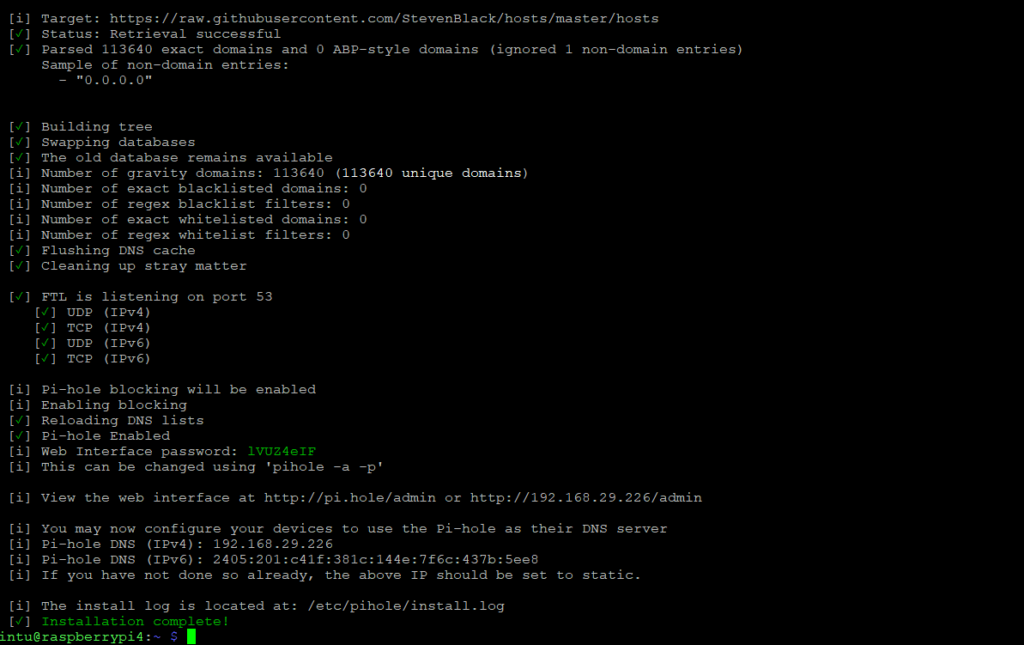
You can select other steps in the installer like logging, privacy mode etc. and complete your installation.

Reboot your Pi
How to Use ?
Login to your target machine and change the DNS address. Enter preferred DNS server, enter the ip address of your raspberry pi. In the Alternate DNS server you can enter routers IP as a fallback or googles DNS 8.8.8.8

