
What is Node Red ?
Node red is an Open Source flow based tool for wiring together hardware devices, APIs and online services. It provides a browser-based flow editor making it very easy to use and it requires little programming knowledge. Flows can be then deployed to the runtime in a single-click. Also, JavaScript functions can be created within the editor using a rich text editor. A built-in library allows you to save useful functions, templates or flows for re-use.
Because of its flexibility and ease of use node-red is ideally suited for building IOT and Home control dashboards and automations as well as many other applications. Since Node-RED is built on Node.js, it takes full advantage of its event-driven model. This makes it ideal to run at the edge of the network on low-cost hardware such as the Raspberry Pi.
Node-red can be installed locally on Windows and Linux and also because of its small size also on the raspberry Pi. Here we will see how you can use node red on raspberry pi.
Installation of Node Red on Raspberry Pi
Prerequisite
Raspberry Pi OS Buster version
Installation
Nodered.org provides script to install and upgrade Node.js, npm and Node-RED onto a Raspberry Pi. This makes our life easier. Note that you can also individually install all the component, especially if not using Raspberry Pi Buster or other debian based os.
Run the following script to download and install.
bash <(curl -sL https://raw.githubusercontent.com/node-red/linux-installers/master/deb/update-nodejs-and-nodered)This script will perform following action:
• remove any existing version of Node-RED if present.
• if it detects that Node.js is already installed, then it will ensure it is at least v12 else will stop
• install the latest version of Node-RED using npm.
• optionally it will also install a collection of useful Pi-specific nodes.
• setup Node-RED to run as a service and provide a set of commands to work with the service.
Note: Node-RED has also been packaged for the Raspberry Pi OS repositories and appears in their list of ‘Recommended Software’. It can also be installed using apt-get install nodered and includes the Raspberry Pi OS-packaged version of Node.js, but does not include npm.
How to run locally?
It can be run locally by using the command node-red. In Raspberry pi you should pass additional parameter to free up unused memory.
node-red-pi –max-old-space-size=256
You can also run it as a service. In fact if you are using the install script then it will setup as a service. Use below command to start and stop the service.
- node-red-start – this starts the Node-RED service and displays its log output
- node-red-stop – this stops the Node-RED service
- node-red-restart – this stops and restarts the Node-RED service
- node-red-log – this displays the log output of the service
If you want Node-RED to run when the Pi is turned on, or re-booted, you can enable the service to autostart by running the command:
sudo systemctl enable nodered.service
To disable the service, run the command:
sudo systemctl disable nodered.service
How to use the editor?
Once Node-RED is running you can access the editor in a browser.
If you are using the browser on the Pi desktop, you can open the address: http://localhost:1880.
Ideally you should be using outside your raspberry pi. To do so replace localhost with your host name. eg: http://<hostname>:1880
At this stage we are done setting up basic node red installation and is ready for use. Until now there is no security – anyone who can access its IP address can access the editor and deploy changes. For now its not a problem as we are now just learning how to use it. We will see how to secure it in another post.
Demo
Sample flow creation
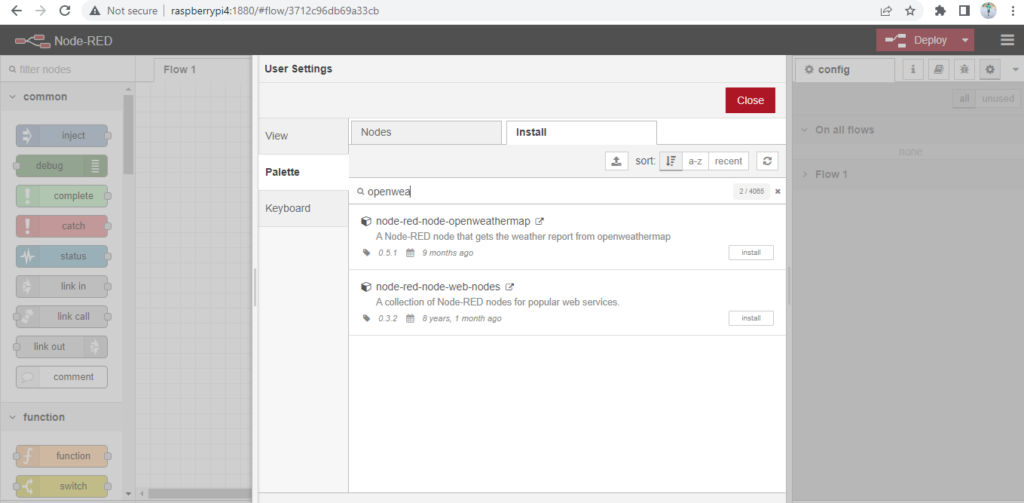
In this sample we will create a simple weather alert. For that we need first install openweathermap and twitter palette as shown below.

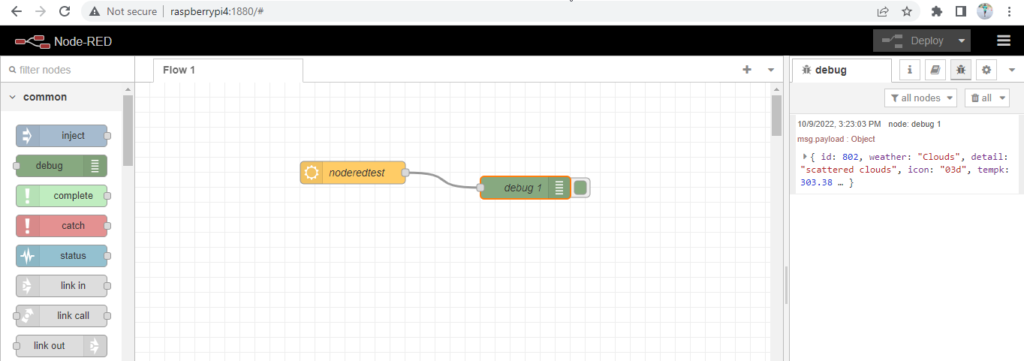
Once done go back to flow editor and add the openweathermap node and add the API details. Note that you need to signup of API keys if not done already. Add debug node and connect to openweathermap node and then deploy. This will help find values of returned data. Refer the screenshot below.
Next add function node, to add a condition and then twitter node to tweet the message.
In our example I will check value of “weather” and accordingly tweet a message. To keep it simple I have just added 1 condition.
if (msg.payload.weather === 'Clouds') {
msg.payload = 'Cloudy skies ahead today in Hyderabad!'
return msg;
}
return null;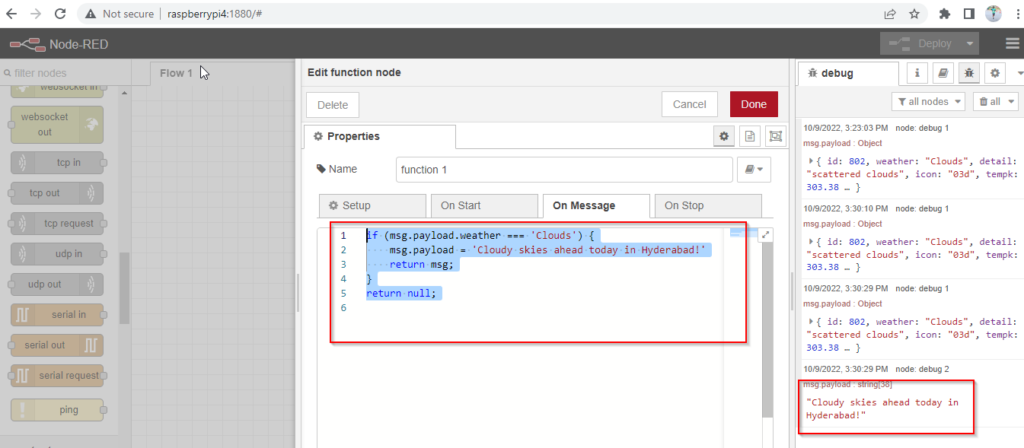
Next add the twitter node and update API details.
Note: You need to sign up for twitter developer account and have necessary permissions. You will need elevated permission to send tweet.
Final flow
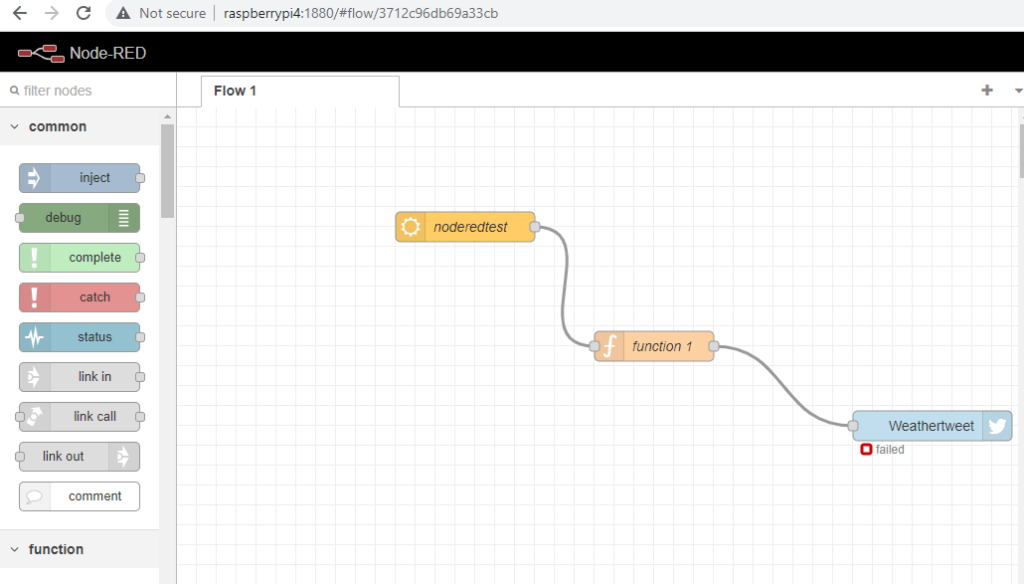
You can see failed message, as I have basic permission. To send tweet using the API you will need elevated permission. Another use case can be reading or sending data from thingspeag.com.
Update –
After updating my twitter permission now the error is gone and can send messages as below.
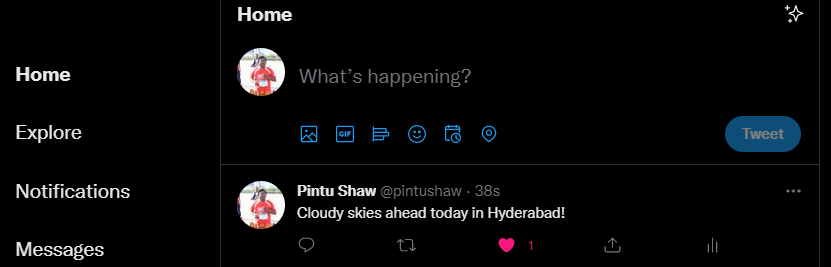
So by now you have got an idea of what all can be done using Node Red.