LED Flasher using NE555
LED Flasher circuit using NE555 timer IC R1, R2, C1 and the supply voltage determine the flash rate. For a variable flash rate, replace R1 with a 1 MΩ pot in series with a 22k resistor. The purpose of R3…

A home to software testing, electronics circuits & projects, tips and tricks and digital diary.
A home to software testing, electronics circuits & projects, tips and tricks and digital diary.
LED Flasher circuit using NE555 timer IC R1, R2, C1 and the supply voltage determine the flash rate. For a variable flash rate, replace R1 with a 1 MΩ pot in series with a 22k resistor. The purpose of R3…
10 Stage LED Sequencer Components IC1- CD4017 IC2- NE555 C1 – 1μ C2- 0.01 μ R1 – 470 Ω R2 – 100 KΩ R3- 100 Ω LED1-10 – RED LED 9volt DC power supply. …
Today LED has become an integral part of consumer electronics. LED TV, LED Display, LED Lights and so on. These are becoming very popular because of there low power consumption. What is LED? LED stands for Light emitting diode. A…
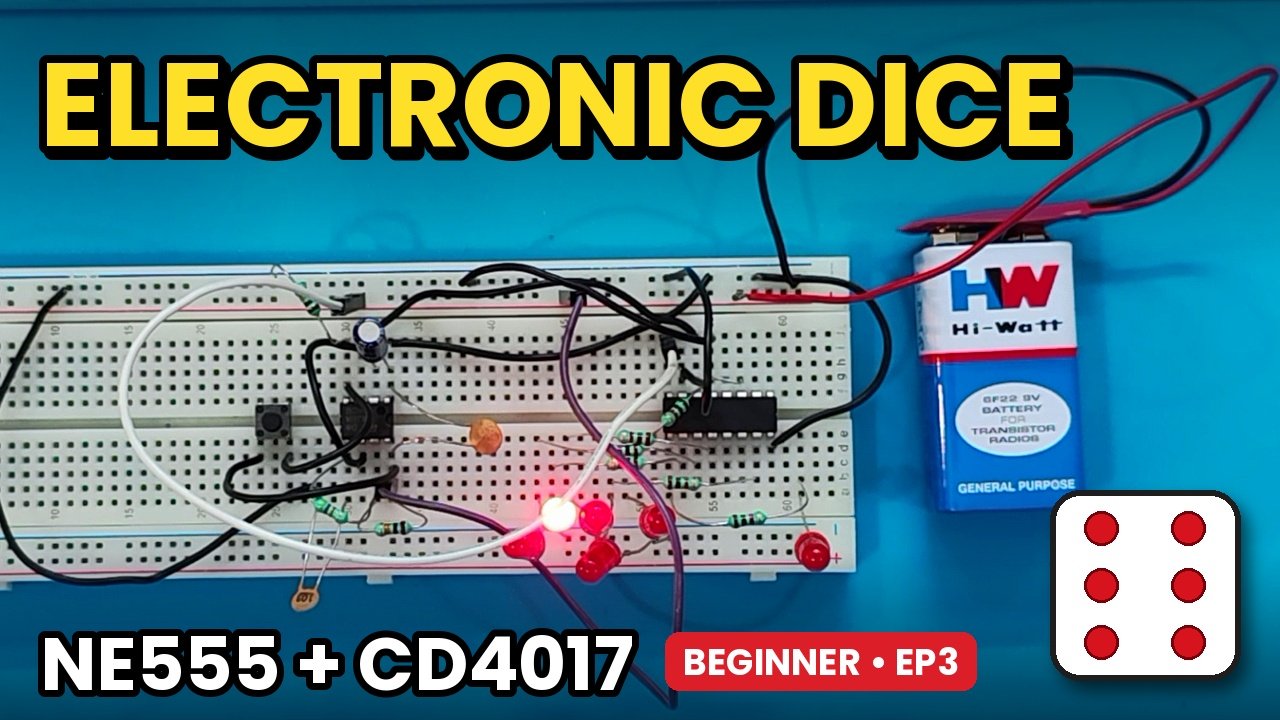
In this project, we build an electronic dice circuit using two popular integrated circuits: the NE555 timer and the CD4017 decade counter. This project is part of the DigitalLab Beginner Electronics Series and is designed to help beginners understand timer…
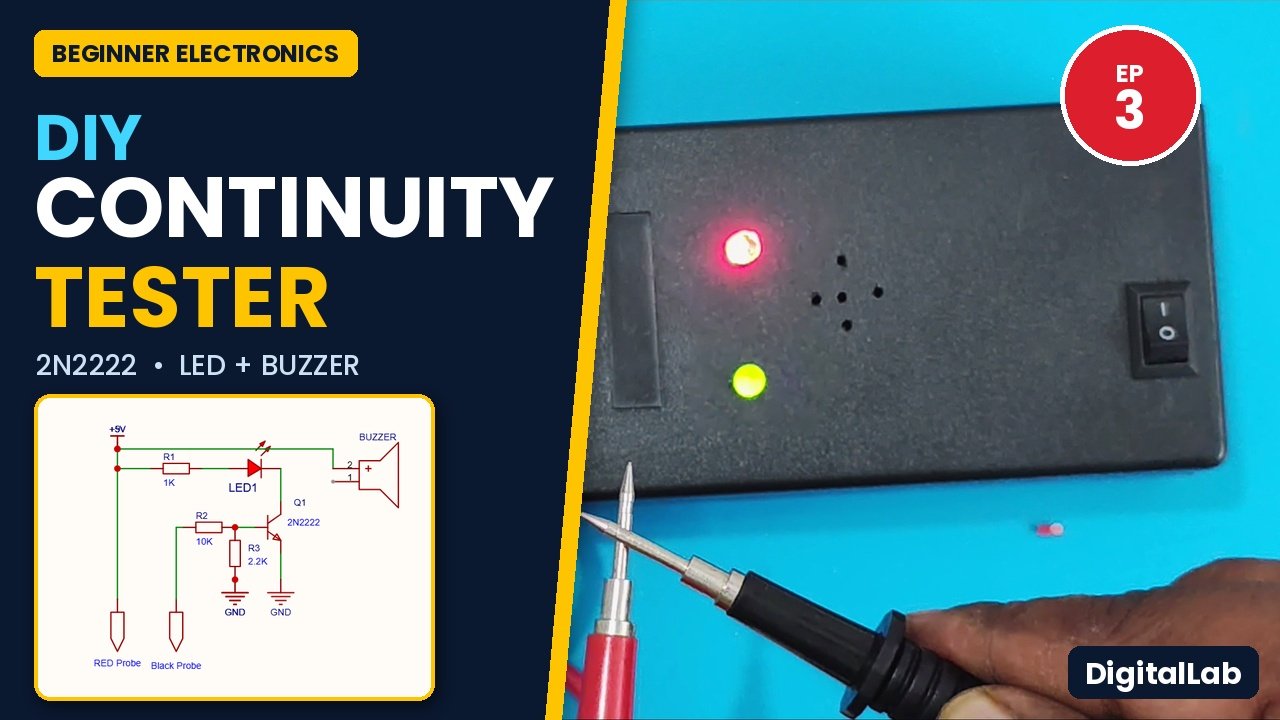
A continuity tester is one of the most useful tools for anyone working with electronics. It helps check whether a wire, switch, connector, or PCB track provides an electrical path between two points. In this episode of the DigitalLab Beginner…
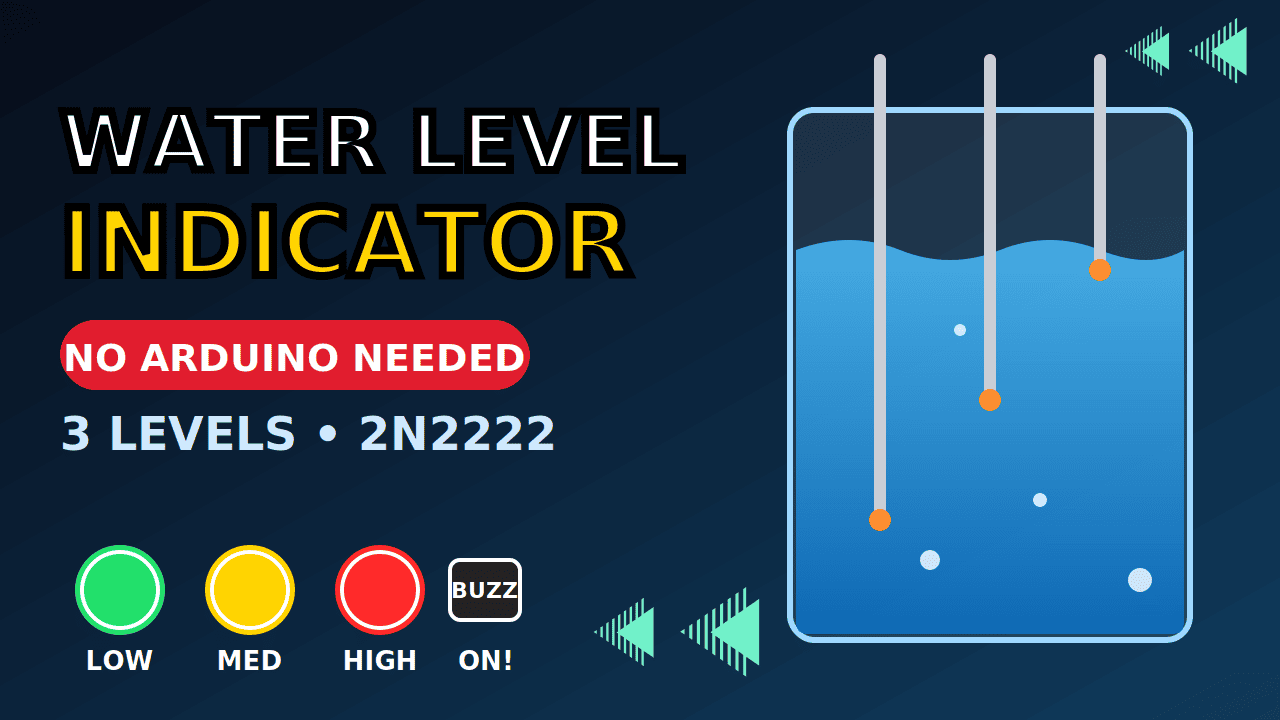
Want to know when a tank is filling up without writing a line of code? In this beginner-friendly project, we build a water level indicator from a few transistors, LEDs, a buzzer and some probes dipped in water. We start…
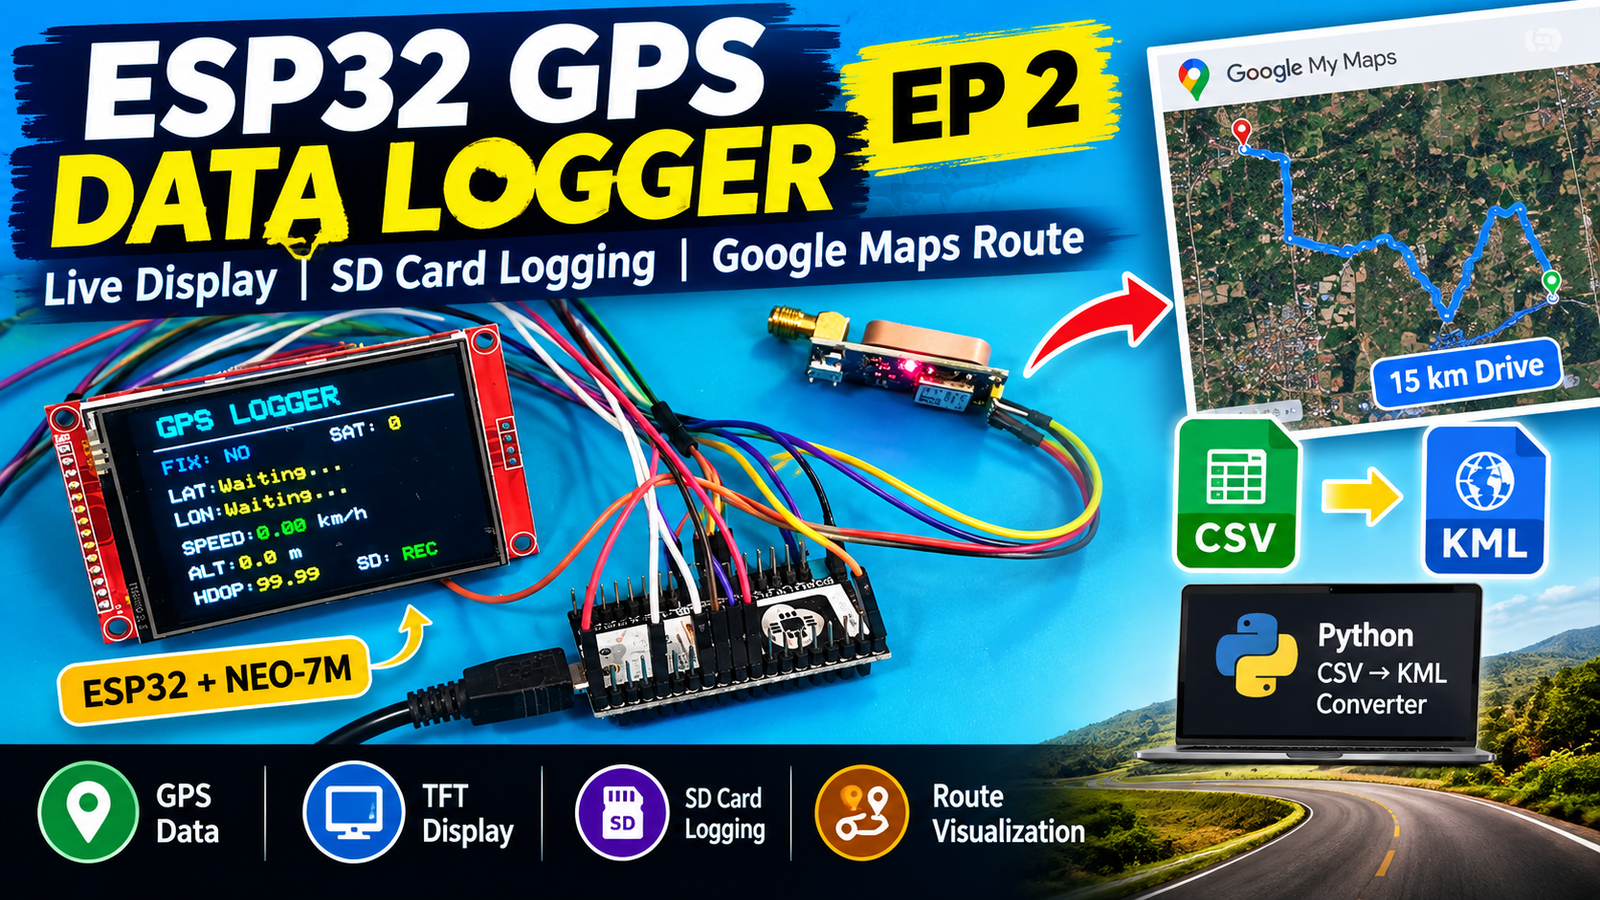
In EP1 we built the core of the logger with an ESP32, a NEO-7M GPS module and a microSD card. In this final episode we add a 2.8-inch ILI9341 TFT dashboard, test the logger on a real 15 km drive,…
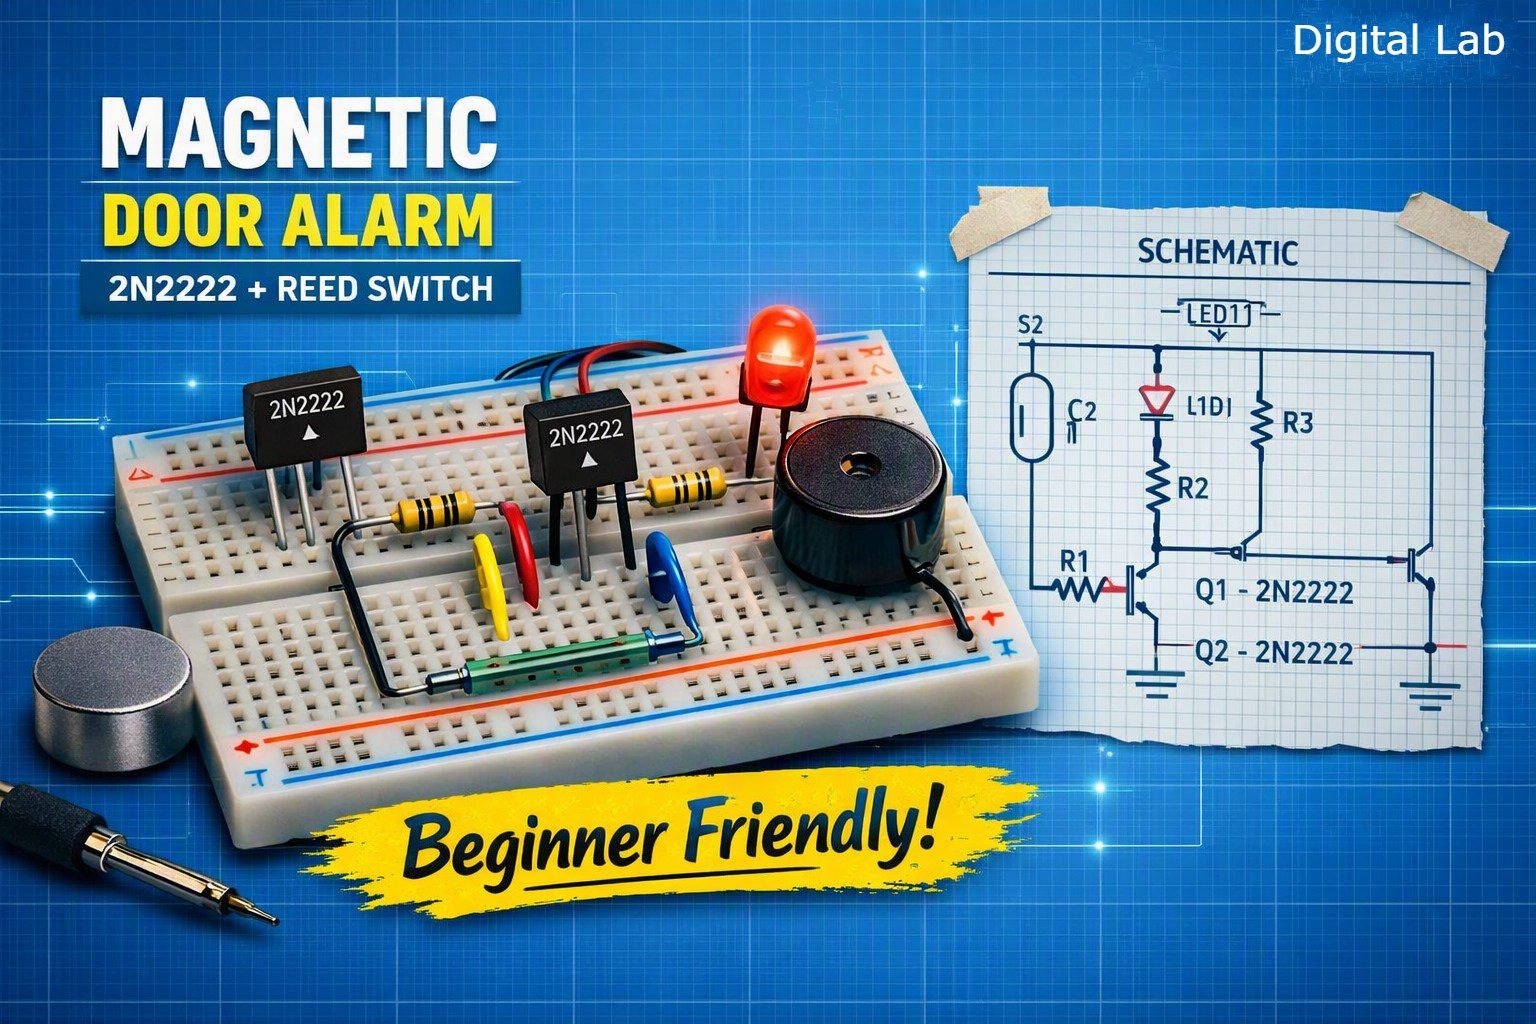
Project objective In this project, we build a simple magnetic door/window alarm using: The magnet activates the reed switch, which turns ON the transistor. The transistor then switches both the buzzer and LED. Circuit Diagram In version 2 we invert…
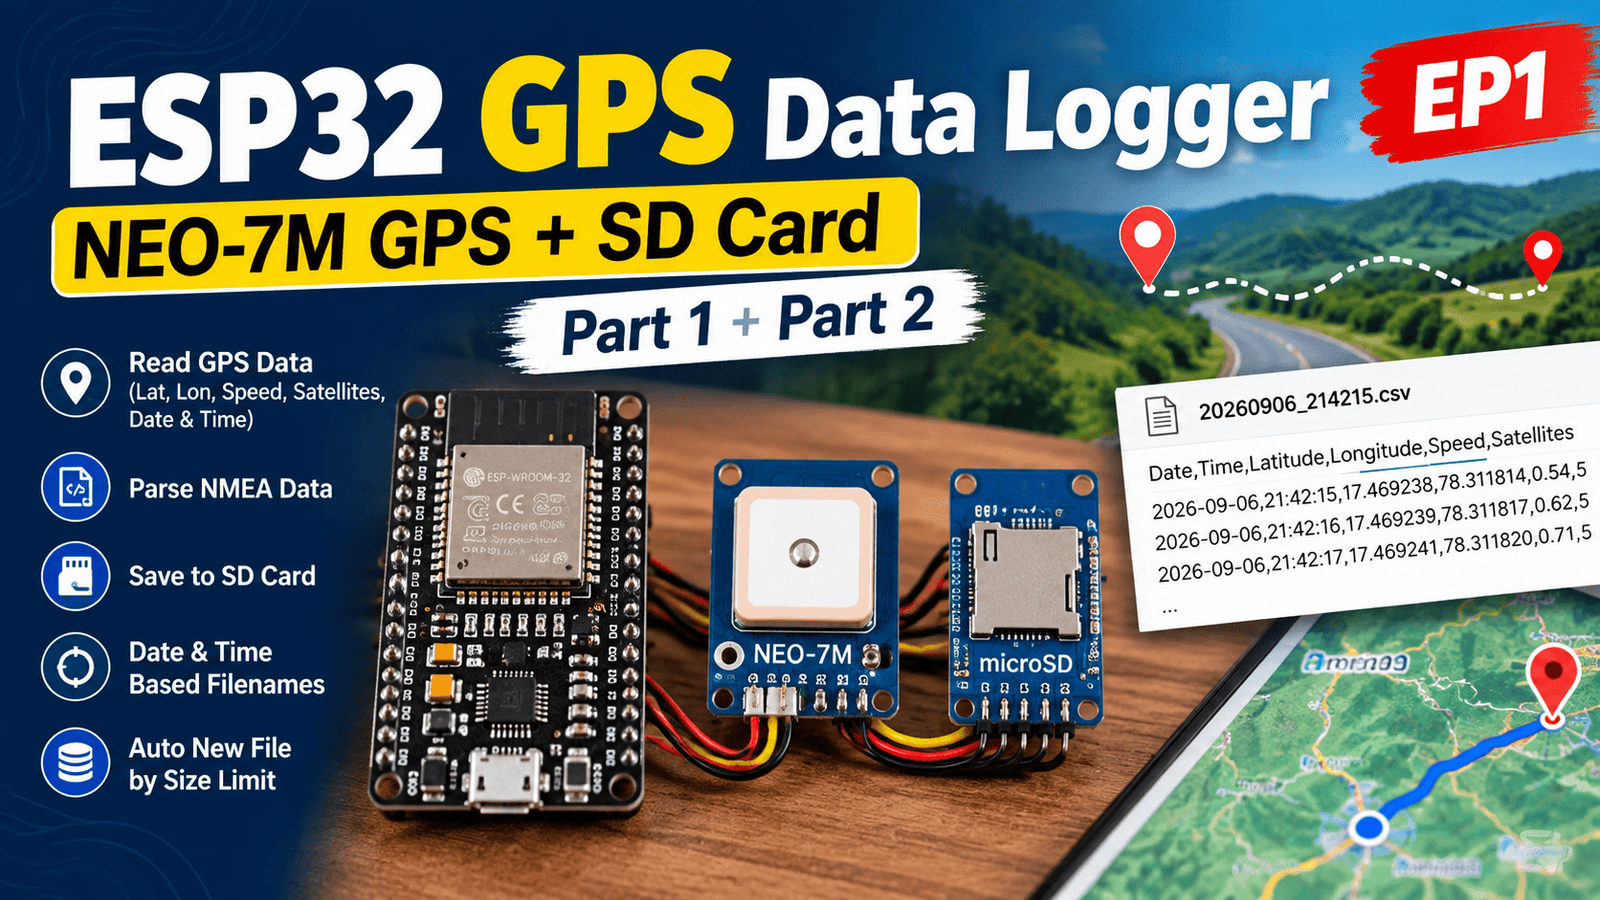
In this project, we are building an ESP32-based GPS Data Logger using the NEO-7M GPS module and a microSD card. The goal is to capture GPS information such as latitude, longitude, speed, date, time, and satellite count, and save the…
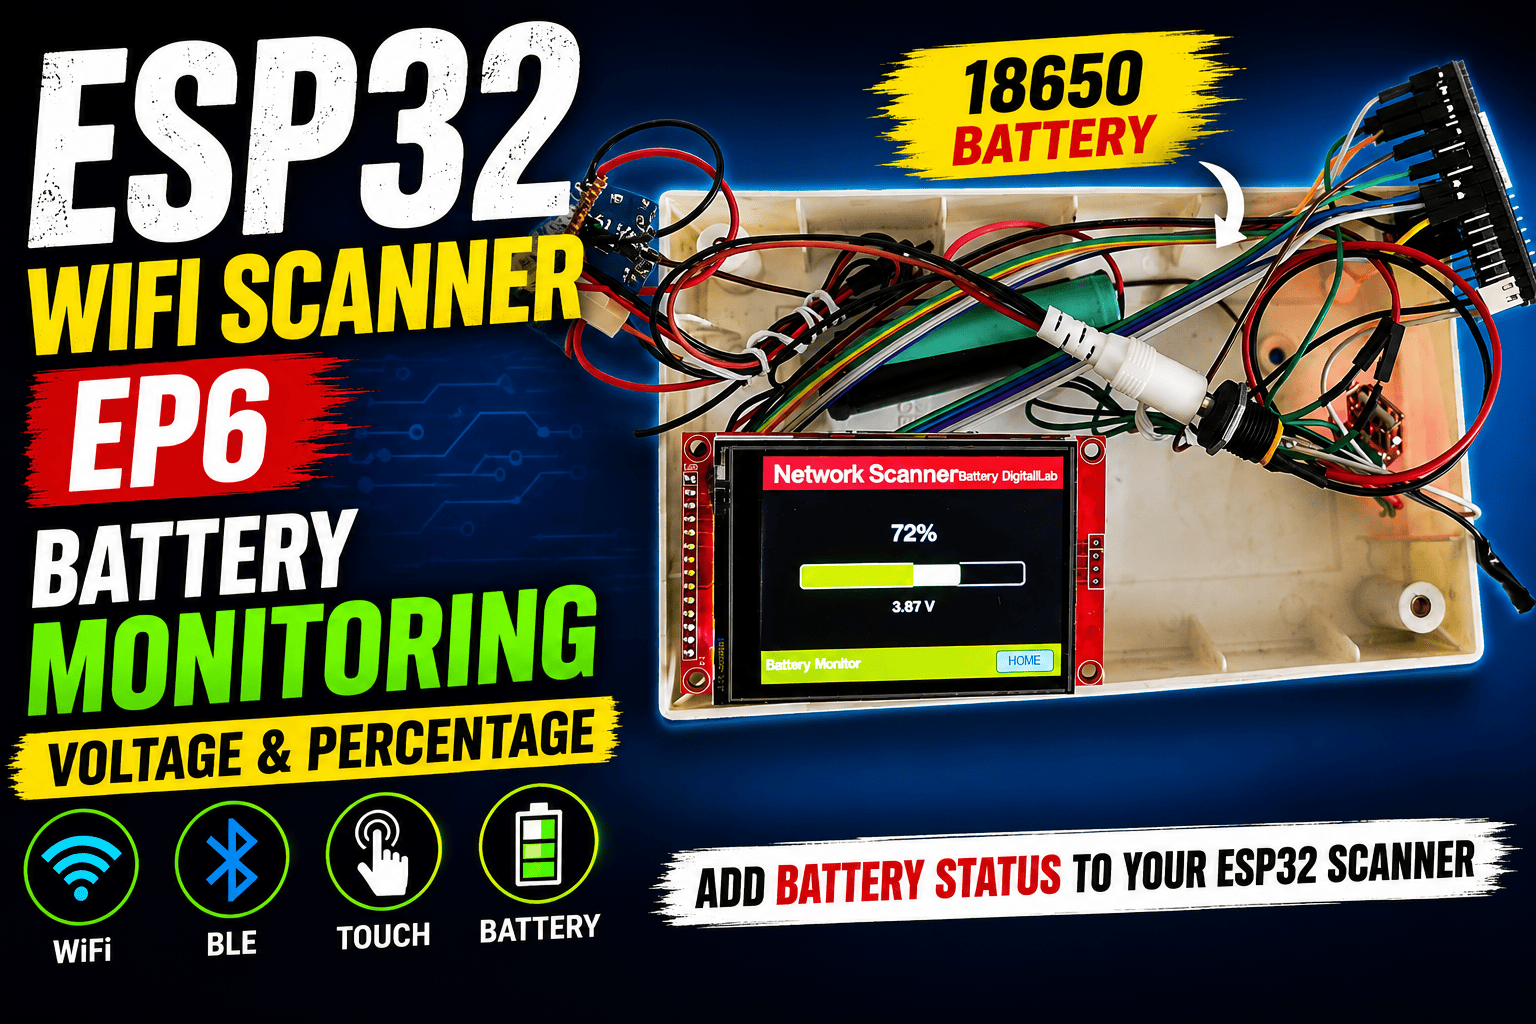
In Episode 6 of the ESP32 Portable WiFi Scanner project, we take the project one step further by adding battery monitoring. The scanner is designed to run as a portable device using an 18650 Li-ion battery, so being able to…