
Configuring an Android emulator for mobile testing involves several steps. Here’s a general guide on how to do it:
Step 1: Install Android Studio
Download and install Android Studio, which is the official development environment for Android app development. Android Studio includes the Android SDK (Software Development Kit) that provides the necessary tools and resources to create, test, and run Android applications.
Download URL: https://developer.android.com/studio
Step 2: Launch Android Studio
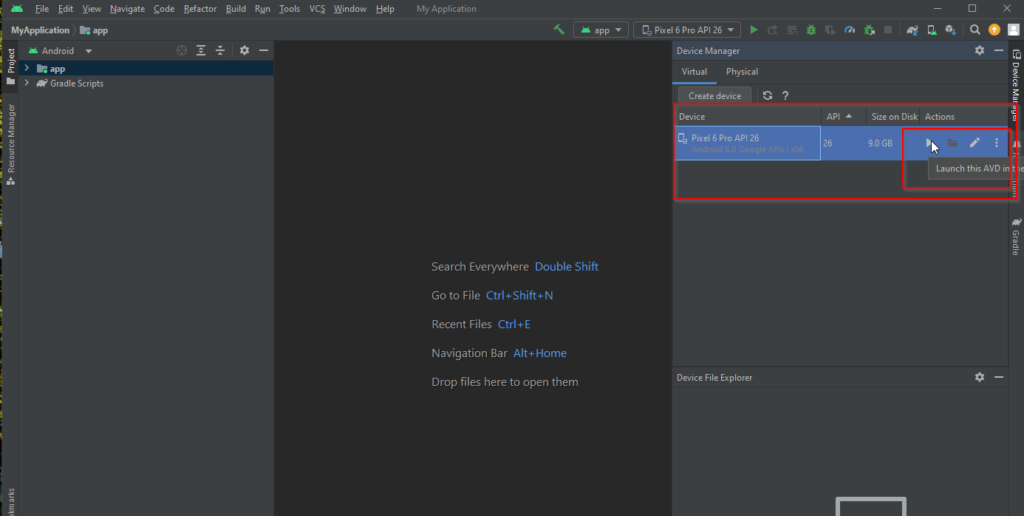
Launch Android Studio and open the AVD (Android Virtual Device) Manager, which is used to create and manage virtual devices for testing apps on the Android emulator.
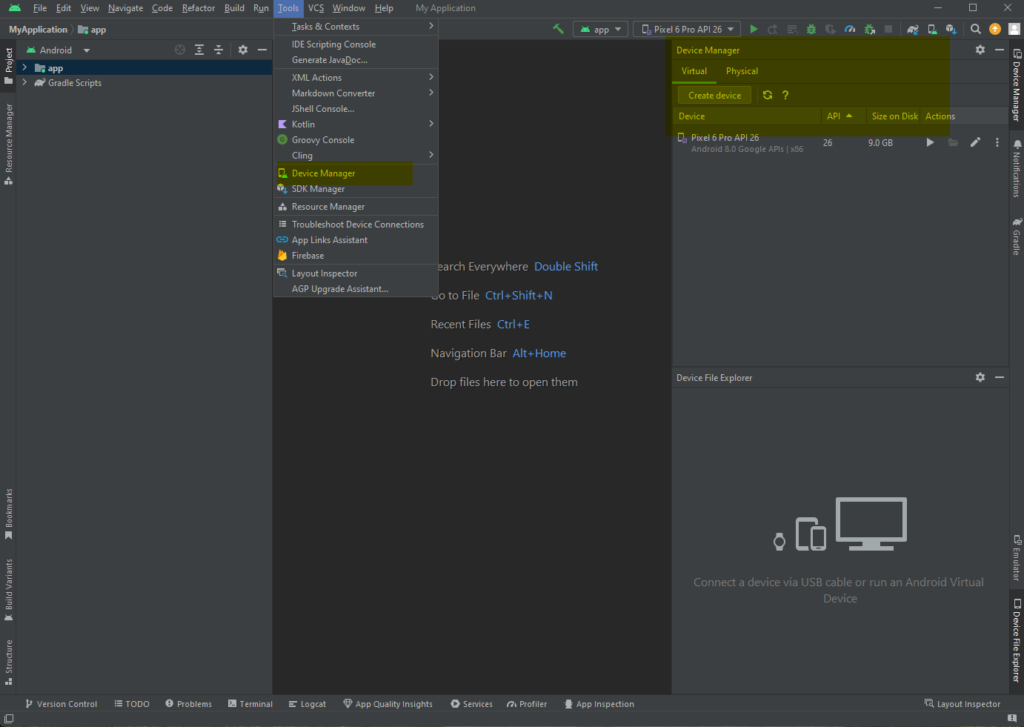
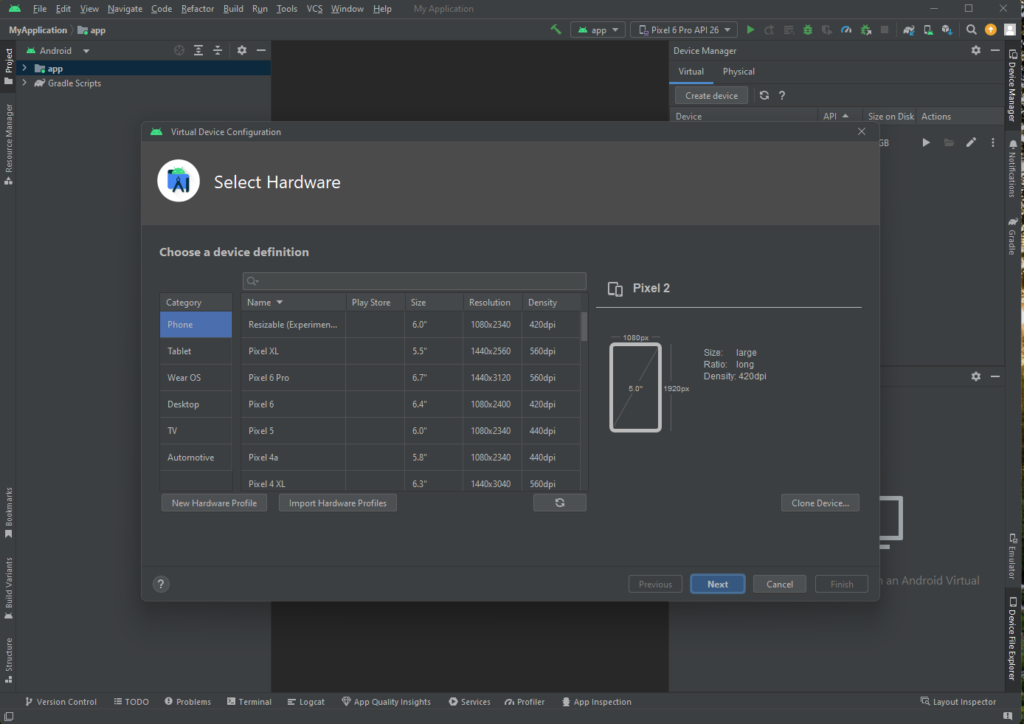
Step 3: Create a Virtual Device
Click on “Create Virtual Device” in the AVD Manager to create a new virtual device. Choose the device type, such as phone or tablet, and select the desired device model, such as Pixel 3 or Nexus 5X. You can also choose the system image, which is the Android version that you want to test on.
Step 4: Configure Virtual Device Settings
Configure the settings for the virtual device, such as the name, orientation, and hardware specifications. You can also specify additional features, such as a camera, GPS, or SD card, depending on your testing requirements.
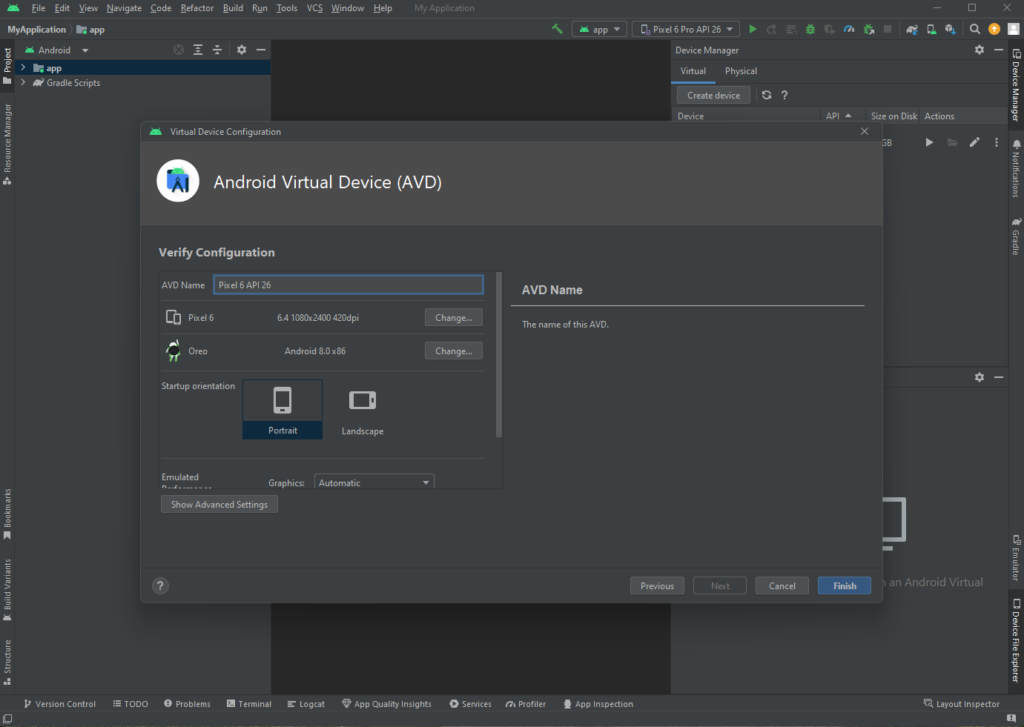
Step 5: Launch the Virtual Device
Click on the “Finish” button to create the virtual device. Your emulator is now ready for testing. Click on the “Play” button to launch the virtual device emulator. Note that you can create different emulator for different test requirements.
Step 6: Install and Test Apps
Once the virtual device is up and running, you can install and test apps on it, just like you would on a physical Android device. You can either drag and drop APK files onto the emulator window, or use the Android Studio’s built-in tools to deploy and run apps directly from the development environment.
Step 7: Test App Functionality
Use the virtual device emulator to test various aspects of your app’s functionality, such as UI responsiveness, performance, compatibility with different Android versions, and device configurations.
Step 8: Debug and Troubleshoot
If you encounter any issues during testing, you can use the Android Studio’s debugging and troubleshooting tools to identify and fix problems, just like you would with a physical Android device.
You have now configured an Android emulator for mobile testing using Android Studio. In the next post we will see how to automate the testing on the emulator.