
Matrix style keypads with Arduino is very handy and easy to use for any input required. It can be used to enter passwords, control games and robots.
What is needed
- Arduino UNO
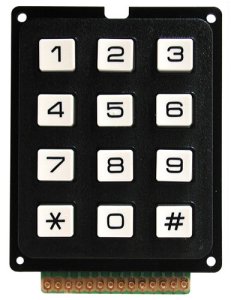
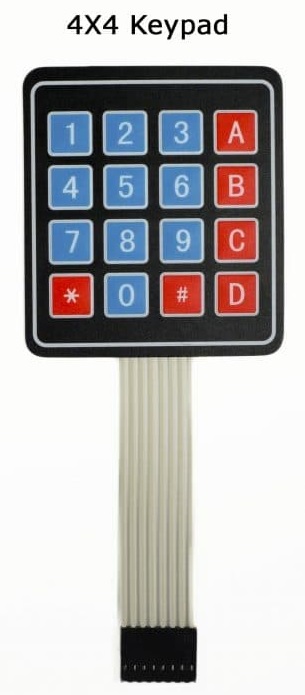
- Keypad 4*4 ( you can also use 4*3 keypad with some modification in code)
- LCD display
- Some connecting wires
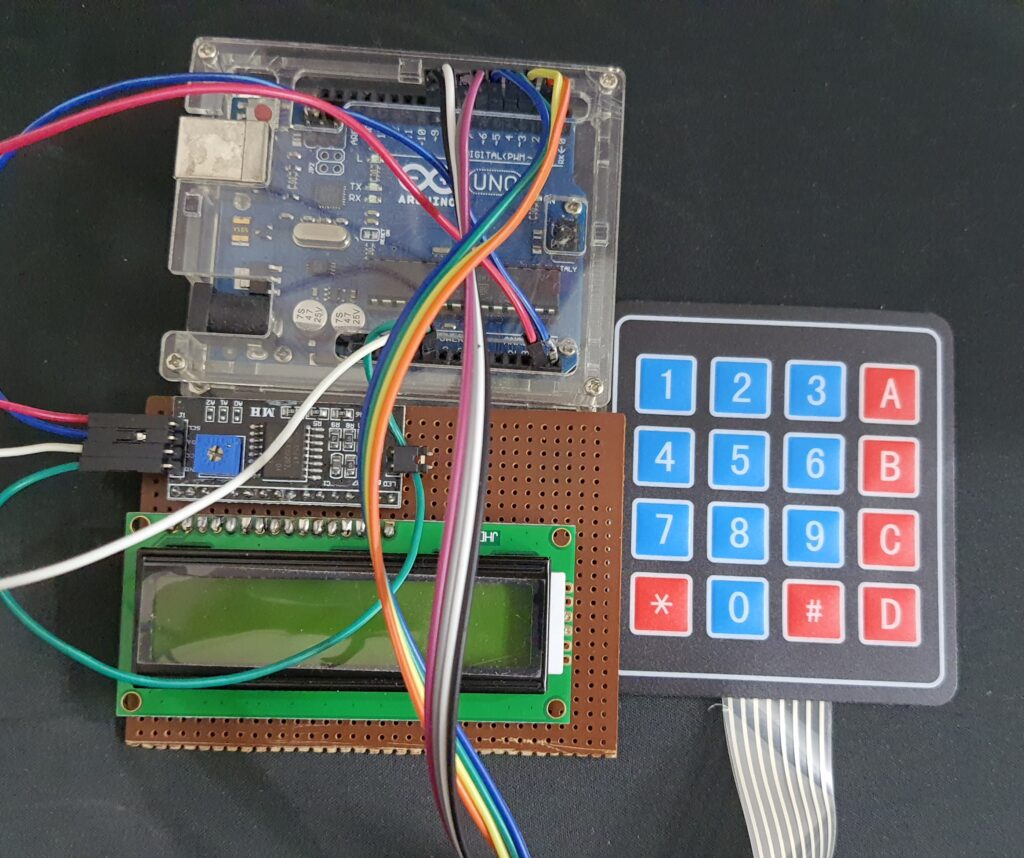
Setup of Keypad with Arduino
Connect the LCD display as using Analog Pin 4 to SDA and Analog pin 5 to SCL. For more details on connecting and using refer my blog post “How to connect 16*2 LCD using I2C with Arduino”
Connecting Keypads to Arduino
Connect pin 2,3,4,5,6,7,8,9 of Arduino to keypad as shown below. ( 5,4,4,2 as row pins and 9,8,7,6 as column pins)
Instantiates a Keypad object that uses pins 5, 4, 3, 2 as row pins, and 9, 8, 7, 6 as column pins.
<Image>
Installing Library
Install Keypad library from https://playground.arduino.cc/Code/Keypad/ or Arduino library. Also, for LCD I2C library refer my post “How to connect 16*2 LCD using I2C with Arduino”
Code
#include <Wire.h>
#include <LCD_I2C.h>
#include <Keypad.h>
const byte ROWS = 4;
const byte COLS = 4;
char hexaKeys[ROWS][COLS] = {
{‘1’, ‘2’, ‘3’, ‘A’},
{‘4’, ‘5’, ‘6’, ‘B’},
{‘7’, ‘8’, ‘9’, ‘C’},
{‘*’, ‘0’, ‘#’, ‘D’}
};
byte rowPins[ROWS] = {9, 8, 7, 6};
byte colPins[COLS] = {5, 4, 3, 2};
Keypad customKeypad = Keypad(makeKeymap(hexaKeys), rowPins, colPins, ROWS, COLS);
LCD_I2C lcd(0x27, 16, 2);
void setup(){
lcd.begin();
lcd.backlight();
}
void loop(){
char customKey = customKeypad.getKey();
if (customKey){
lcd.clear();
lcd.setCursor(2, 0);
lcd.print(customKey);
}
}
